Securing the backend
Introduction
About
This section discuss securing the link between the agents and the backend(s).
This document will be using the xca front-end to openssl to make things easy to do. You're free to use any other tools or even a distant CA as long as you get the requiered files.
Why securing the backend
The main point in securing the backend infrastructure is to authentify the backend on the agent. Once the agent allow the backend to push request and commands (planned feature) it will be mandatory to know if the requestor is actually allowed to run this command on the host. This feature will be only enabled using a secure connection.
This mean the quality and security of the signature is the most important thing. Obviously beside having your CA (or xca database) secured and out of reach of hackers.
Create the certificates DB
Install xca
On a debian-based system :
# aptitude install xca
Create the initial database
Start xca :
$ xca
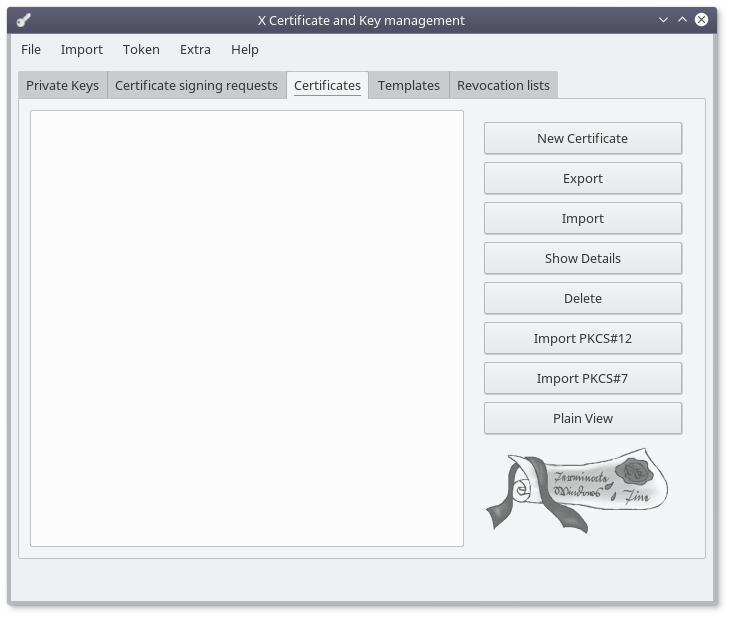
Click on "File" > "New"
Select a previously secured directory (chmod 0700) and give a name to the file
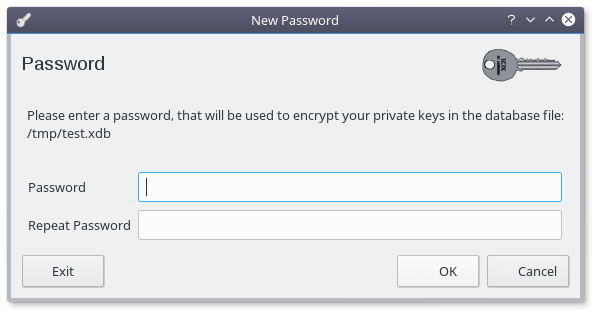
Use a strong passphase, you dont want someone else accessing this file.
Generate the root certificate
Click on the "New Certificate" button :
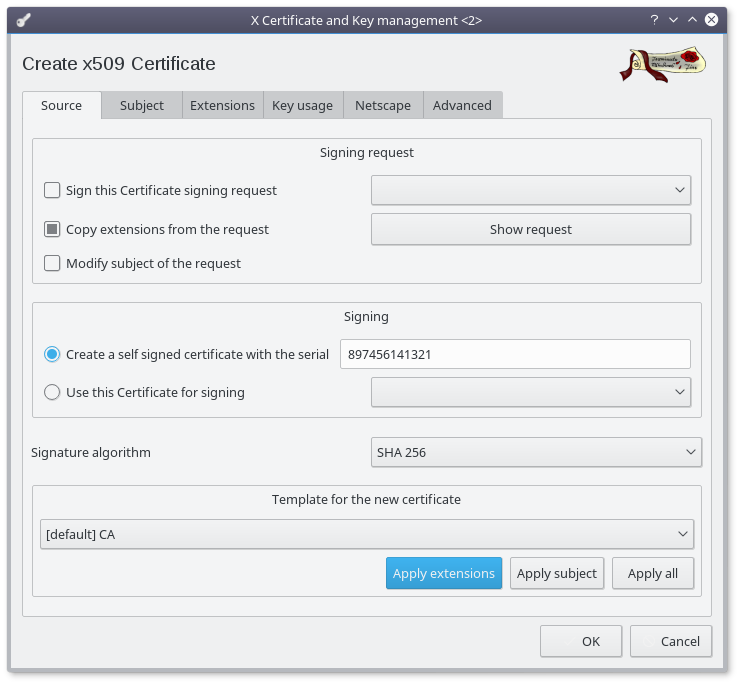
- Change the certificate serial to a truely random number
- Choose SHA 256 as signature algorithm (at bare minimum)
- Click on the "Apply extentions" button
- Select the "Subject" Tab
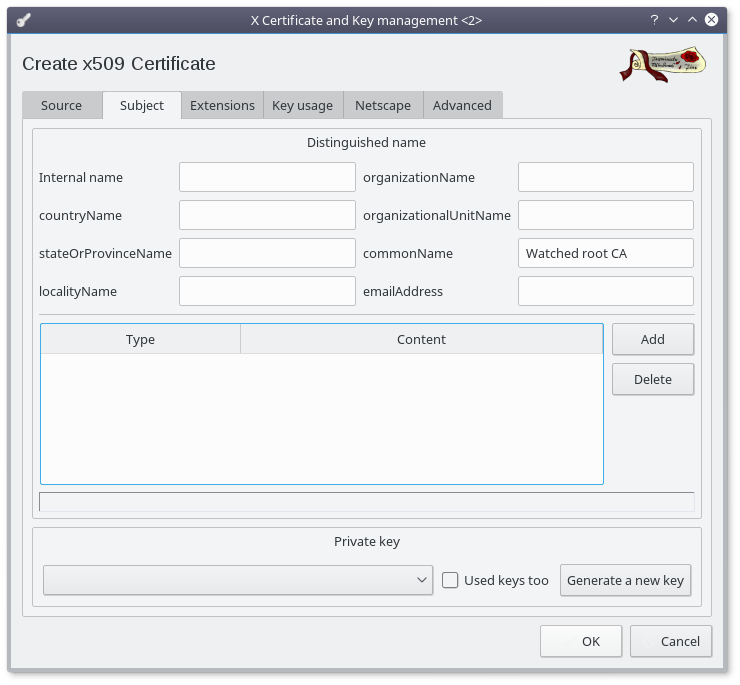
- Set the commonName to "Watched root CA" (requiered)
- Set the other fields (optionnal)
- Click on the "Generate a new key" button
- Click on the "Create" button (accepting the default values)
- Optionnal : in the Extensions tab, select a different time range
- Finally click on the "OK" button
Generate the agent authority
Click on the "New Certificate" button :
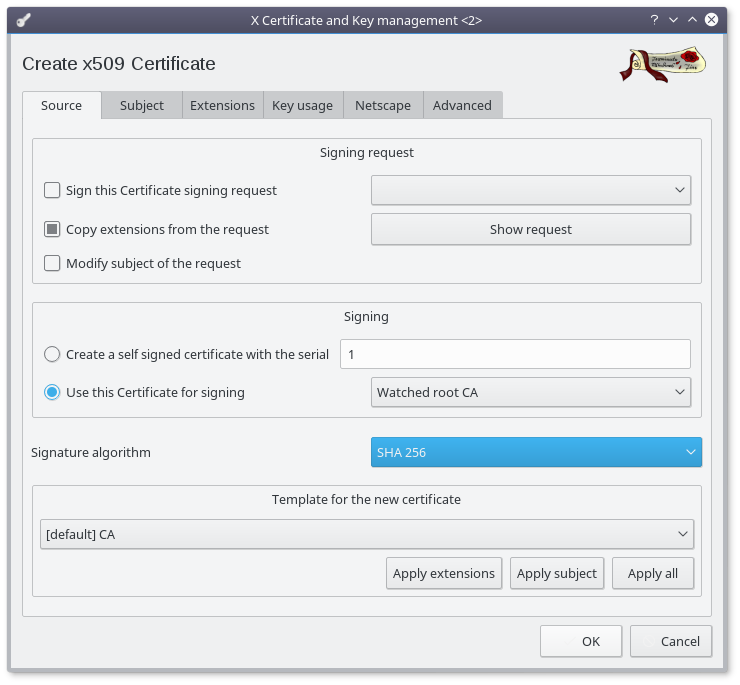
- Select "Use this Certificate for signing"
- Select the previously created root certificate in the dropdown
- Choose SHA 256 as signature algorithm (at bare minimum)
- Click on the "Apply extentions" button
- Select the "Subject" Tab
- Set the commonName to "Watched agent CA" (requiered)
- Set the other fields (optionnal)
- Click on the "Generate a new key" button
- Click on the "Create" button (accepting the default values)
- Optionnal : in the Extensions tab, select a different time range
- Finally click on the "OK" button
- Click on the "Adjust date and continue" button (if asked)
Generate the backend authority
Same as the agent authority giving it an adapted commonName
Click on the "New Certificate" button :
- Select "Use this Certificate for signing"
- Select the previously created root certificate in the dropdown
- Choose SHA 256 as signature algorithm (at bare minimum)
- Click on the "Apply extentions" button
- Select the "Subject" Tab
- Set the commonName to "Watched backend CA" (requiered)
- Set the other fields (optionnal)
- Click on the "Generate a new key" button
- Click on the "Create" button (accepting the default values)
- Optionnal : in the Extensions tab, select a different time range
- Finally click on the "OK" button
- Click on the "Adjust date and continue" button (if asked)
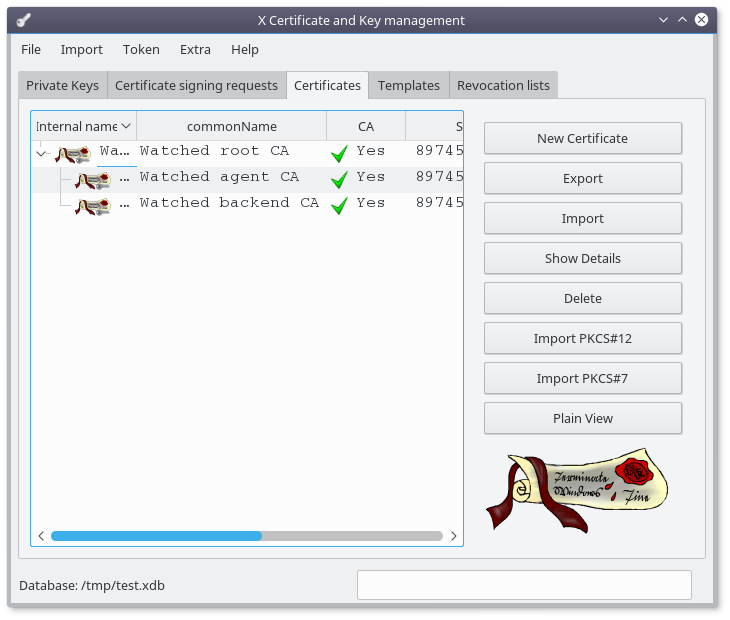
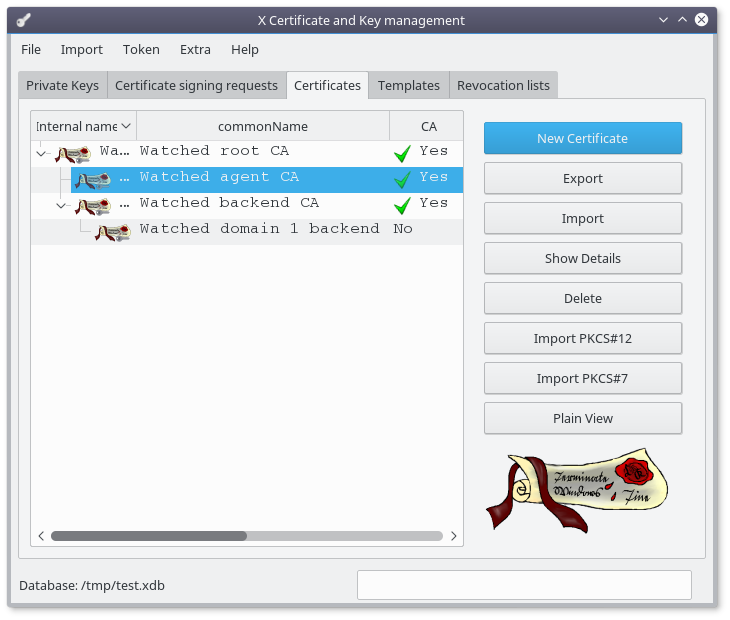
At this point you should have the following certificates available in the database :
Create the backend key and certificate
The following section has to be done for all the backend you're using
Create the certificat
Select the "backend CA" and click on the "New Certificate" button :
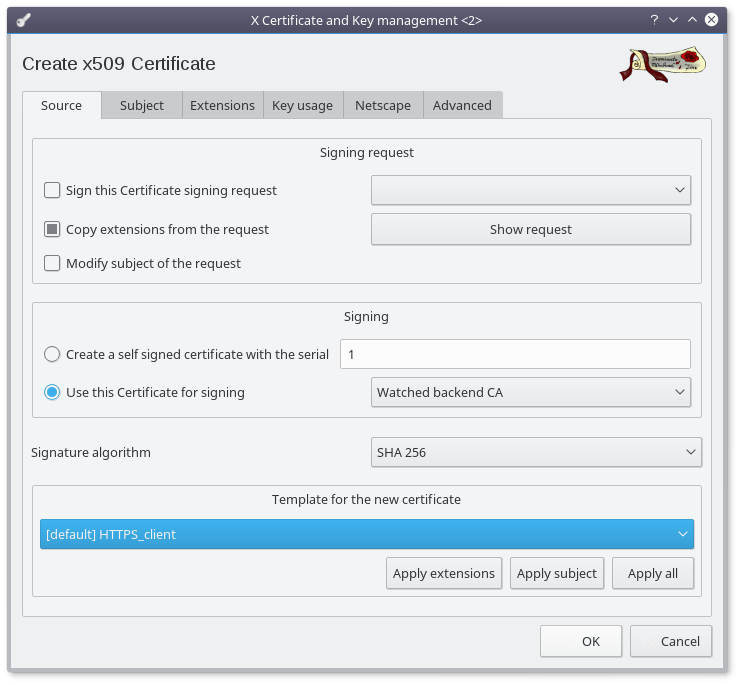
- Make sure the "Watched backend CA" is selected to sign this new certificate
- Choose SHA 256 as signature algorithm (at bare minimum)
- Select the HTTPS_client template
- Click on the "Apply extentions" button
- Select the "Subject" Tab
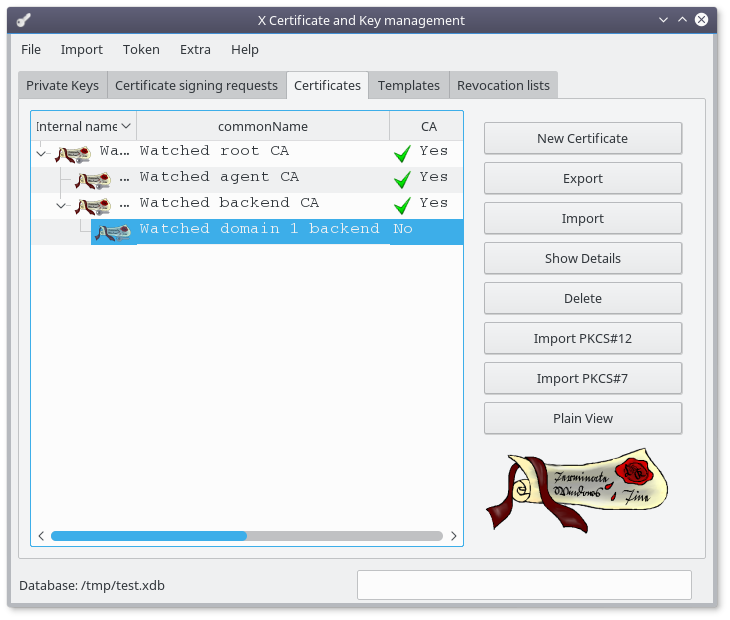
- Set the commonName to identify your backend like "Watched domain 1 backend" (requiered)
- Set the other fields (optionnal)
- Click on the "Generate a new key" button
- Click on the "Create" button (accepting the default values)
- In the Extensions tab, set the time rnge to a longer period (up to 10 years)
- Finally click on the "OK" button
export the requiered files
Select your newly created backend certificate :
Click the "Export" button
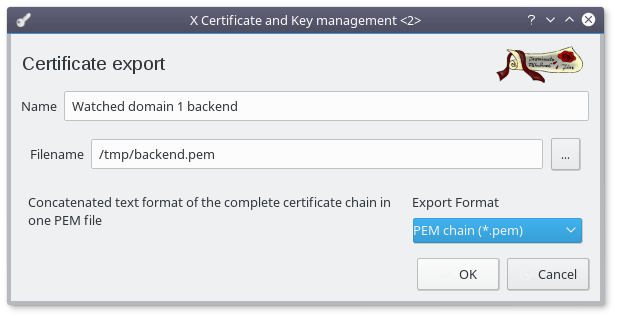
- Select "PEM chain (*.pem)" as Export Format
- Rename the file to "backend.pem"
- Click "OK"
Select the "Watched agent CA" certificate and click the "Export" button
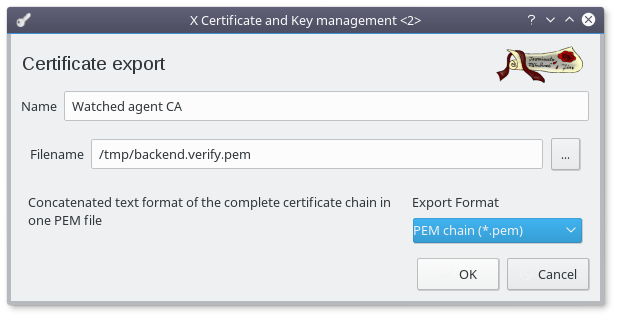
- Select "PEM chain (*.pem)" as Export Format
- Rename the file to "backend.verify.pem"
- Click "OK"
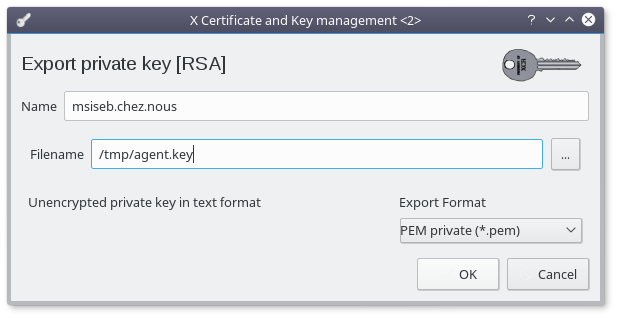
Select the "Private Keys" tab
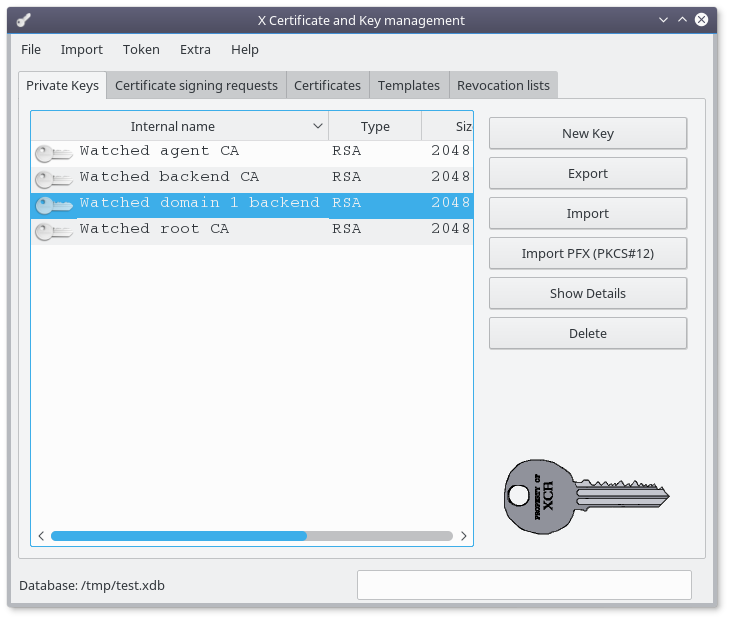
Select the key for your backend and click on the "Export" button
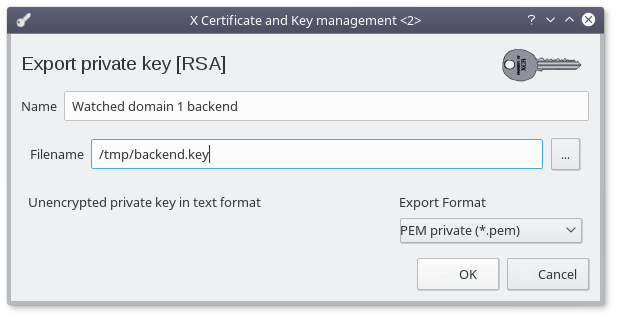
- Rename the file to "backend.key"
- Click "OK"
Install
Copy the 3 generated files to /etc/watched/ssl on the backend node
Make sure the permissions are correct on this directory :
# chown -R root:root /etc/watched/ssl
# chmod 0700 /etc/watched/ssl
# chmod 0600 /etc/watched/ssl/*
Edit the configuration file to update the location of the files :
# vi /etc/watched/back.config.json
{
...
	"backend" :
	{
		"SSL_cert" : "/etc/watched/ssl/backend.pem", /*			SSL certificate file for the backend */
		"SSL_key" : "/etc/watched/ssl/backend.key", /*			SSL backend private key file */
		"SSL_verify" : "/etc/watched/ssl/backend.verify.pem" /*	SSL certificate file containing the agents keychain */
        },
...
}
Restart the backend :
# systemctl restart watched.back
From now on, your backend is able to handle agents using SSL
NB: delete every other copy of the "backend.key" file
Migrate an agent to SSL
Create the certificate
Select the "agent CA" and click on the "New Certificate" button :

- Make sure the "Watched agent CA" is selected to sign this new certificate
- Choose SHA 256 as signature algorithm (at bare minimum)
- Select the HTTPS_server template
- Click on the "Apply extentions" button
- Select the "Subject" Tab
- Set the commonName to the DNS agent name (the host field in the agent table in the database must match this)
- Set the other fields (optionnal)
- Click on the "Generate a new key" button
- Click on the "Create" button (accepting the default values)
- In the Extensions tab, set the time rnge to a longer period (up to 10 years)

Finally click on the "OK" button
export the requiered files
Select your newly created agent certificate :
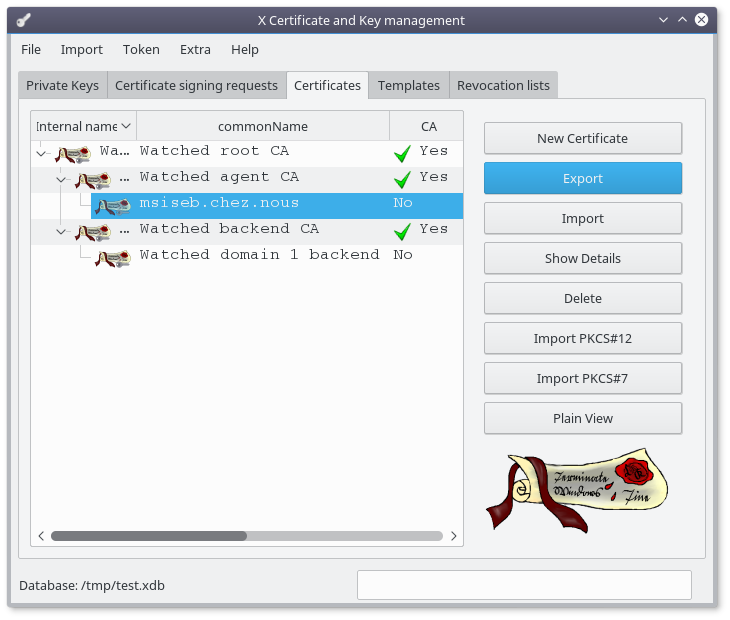
Click the "Export" button
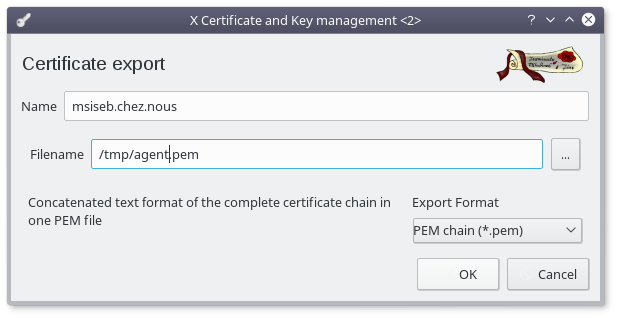
- Select "PEM chain (*.pem)" as Export Format
- Rename the file to "agent.pem"
- Click "OK"
Select the "Watched backend CA" certificate and click the "Export" button
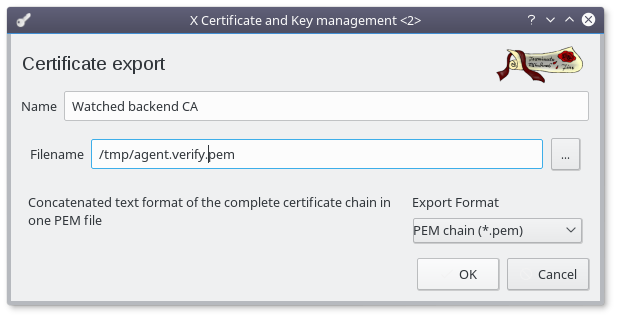
- Select "PEM chain (*.pem)" as Export Format
- Rename the file to "agent.verify.pem"
- Click "OK"
Select the "Private Keys" tab

Select the key for your backend and click on the "Export" button
- Rename the file to "agent.key"
- Click "OK"
Install
Copy the 3 generated files to /etc/watched/ssl on the agent node
Make sure the permissions are correct on this directory :
# chown -R root:root /etc/watched/ssl
# chmod 0700 /etc/watched/ssl
# chmod 0600 /etc/watched/ssl/*
Edit the configuration file to update the location of the files :
# vi /etc/watched/agent.config.json
{
...
        "server" :
        {
		"SSL_cert" : "/etc/watched/ssl/agent.pem", /*			SSL certificate file for the agent */
		"SSL_key" : "/etc/watched/ssl/agent.key", /*			SSL private key file */
		"SSL_verify" : "/etc/watched/ssl/agent.verify.pem" /*	SSL certificate file containing the backend keychain */
...
        },
...
}
Update the database
Until the frontend offer a better option, this is just an update command in the database.
$ mysql -u watched -D watcheddb -p
update agents set use_ssl=1 where host='msiseb.chez.nous';
commit;
Restart the agent
As root on the agent node :
# systemctl restart watched.back
Restart the backend
As root on the backend node :
# systemctl restart watched.back
Consuming an SSL agent data from your browser
Create the certificate
Follow the procedure to create a backend certificate :
- Make sure the "Watched backend CA" is selected to sign this new certificate
- Choose SHA 256 as signature algorithm (at bare minimum)
- Select the HTTPS_client template
- Click on the "Apply extentions" button
- Select the "Subject" Tab
- Set the commonName to identify the user like "Firstname Lastname" (requiered)
- Set the emailAddress (recommanded)
- Set the other fields (optionnal)
- Click on the "Generate a new key" button
- Click on the "Create" button (accepting the default values)
- In the Extensions tab, set the time rnge to a longer period (up to 10 years)
- Finally click on the "OK" button
export the requiered files
Select your newly created user certificate and click the "Export" button :
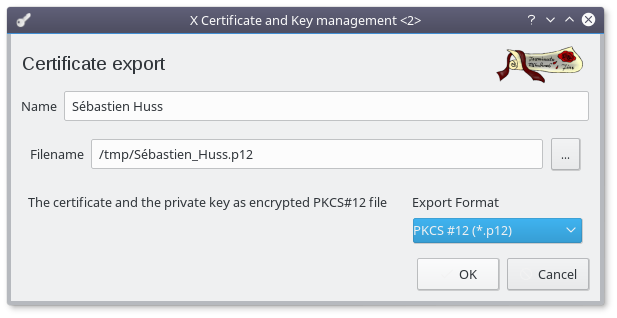
- Select "PPKCS #12 (*.p12)" as Export Format
- Click "OK"
Select the "Watched agent CA" certificate and click the "Export" button
- Select "PEM chain (*.pem)" as Export Format
- Rename the file to "backend.verify.pem"
- Click "OK"
Install
In this section, on chrome browser is documented. Firefox and Edge browser have similar options.
In the chrome setting page, lookup "ssl" :
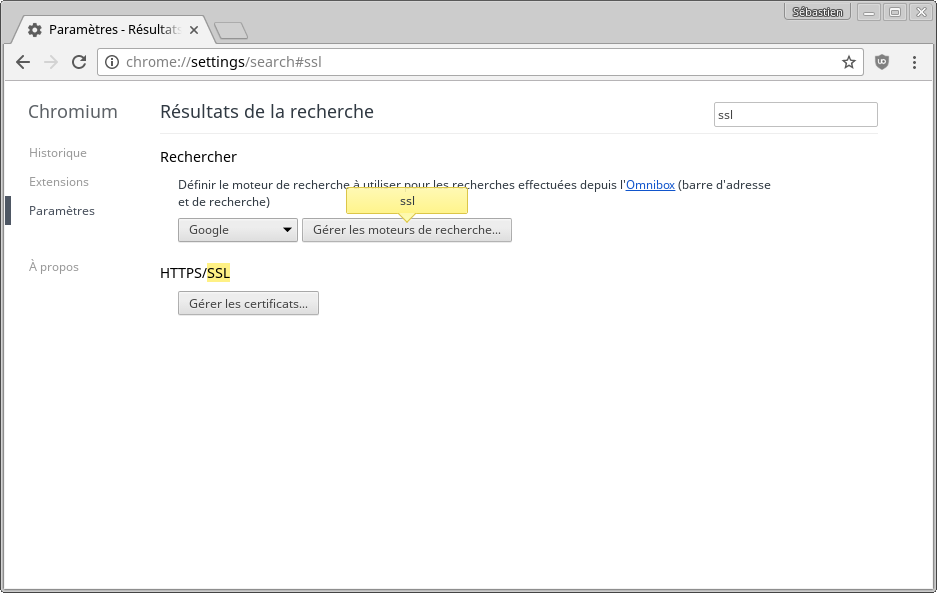
- Click on the "Manage certificate" button
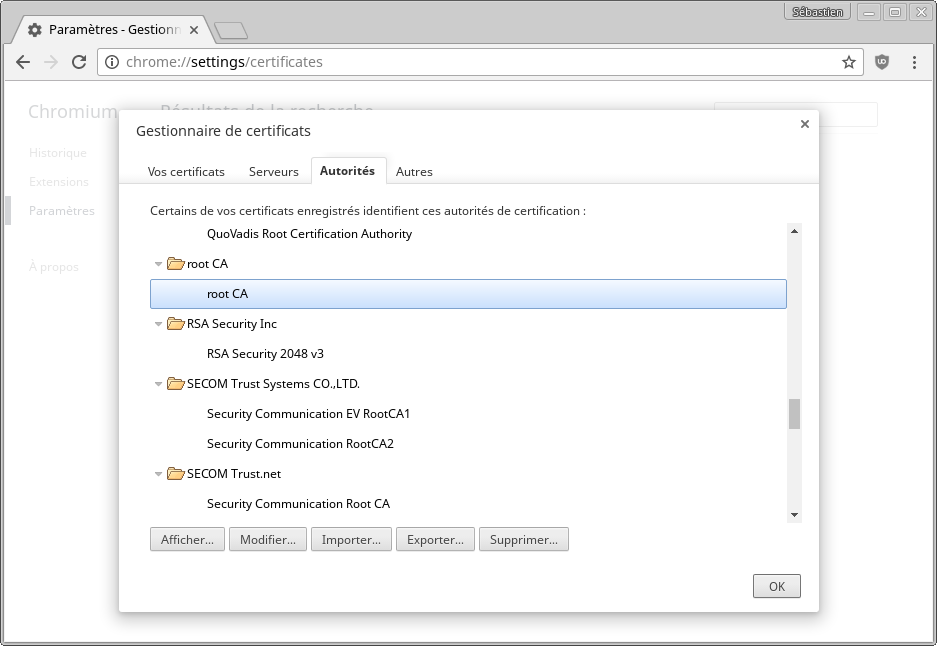
- Select the "Authority" tab
- Click on the "Import" button
- Select the "backend.verify.pem" file saved earlier and confirm
- Now select the "Your certificate" tab
- Click on the "Import" button
- Select the "*.p12" file saved earlier and confirm
Now you can direct your browser to your agent URL safely